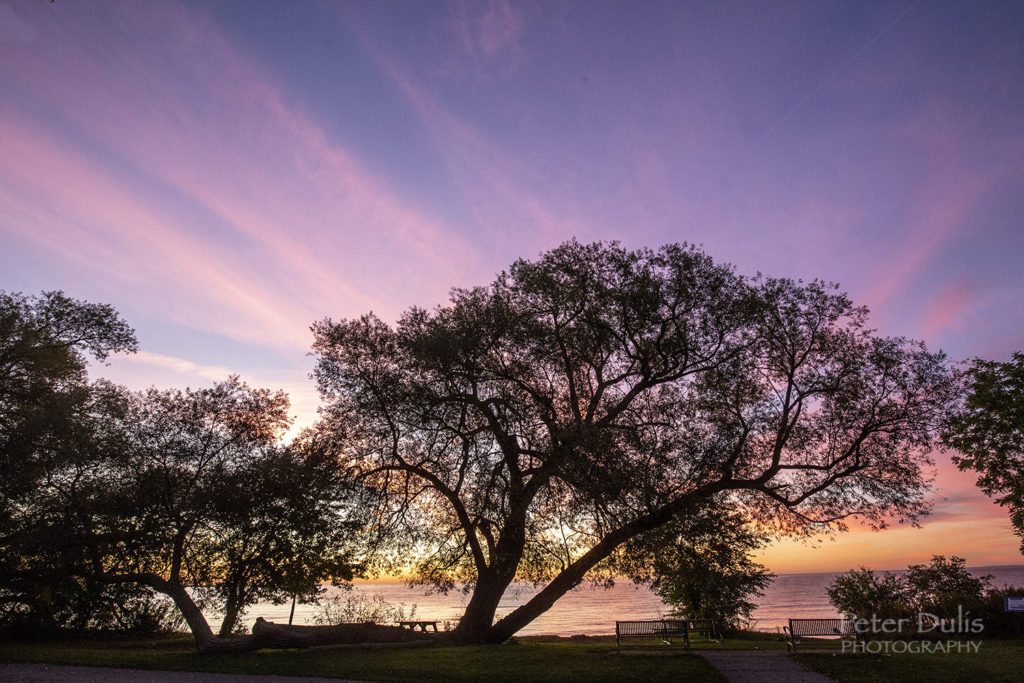
How many times have you tried to capture photos of a gorgeous sunrise or sunset only to be disappointed with the results? Some people believe that sunrise and sunset light is the same, yet the light quality has a different characteristic. During a sunrise, we tend to have a more blueish tone to our photos, whereas the sunset light produces a yellower hue. Both sunrise and sunset photos can produce magical skies and it’s important to know where to be to take full advantage of the photo opportunities.
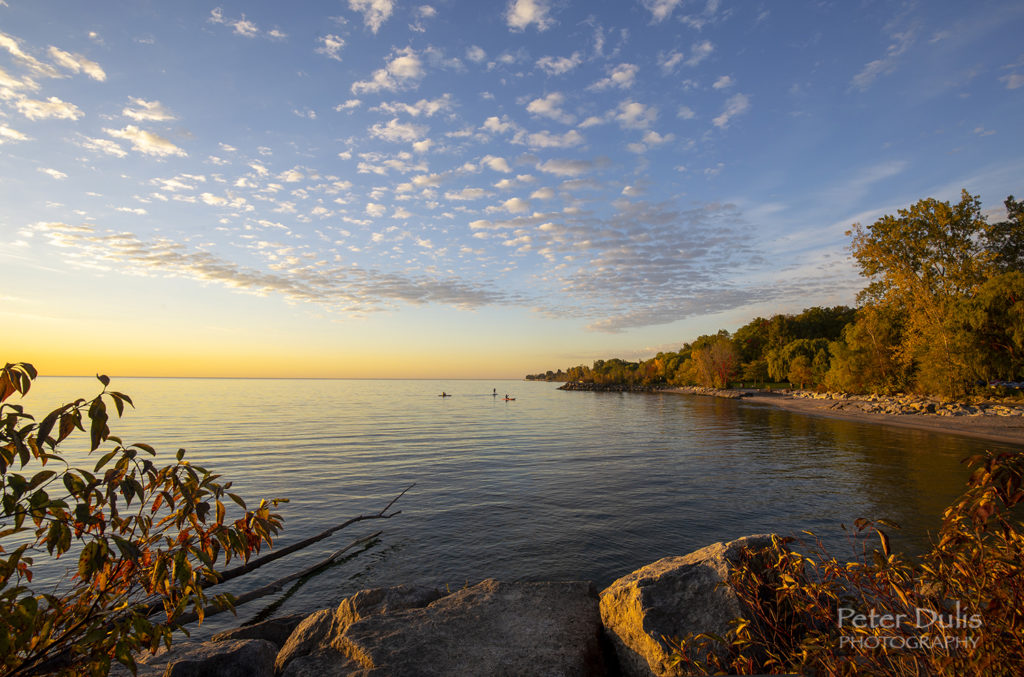
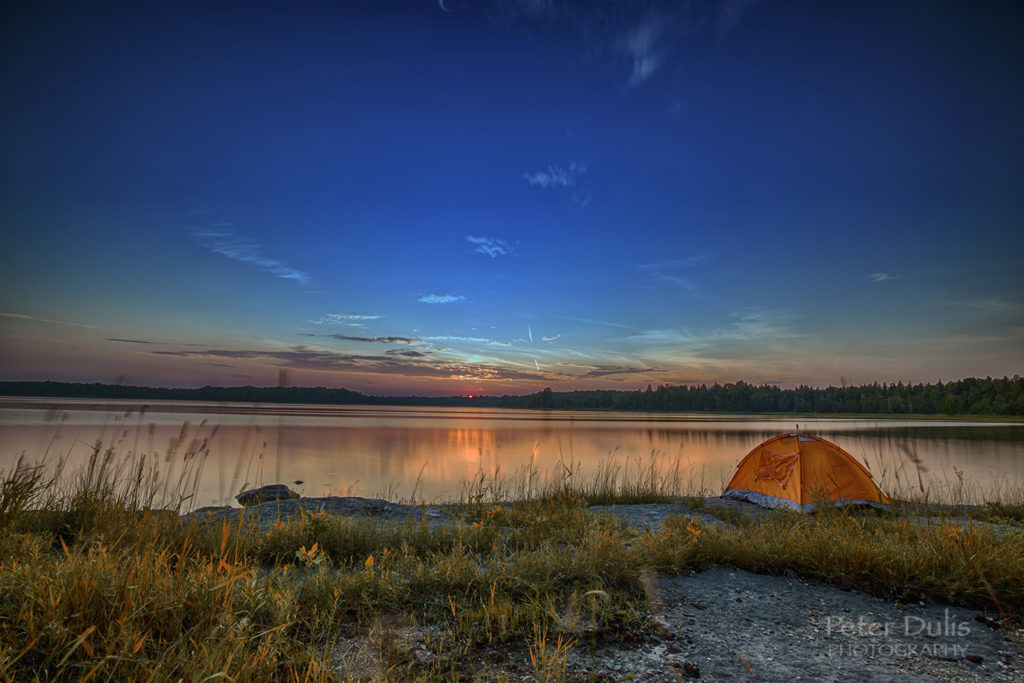
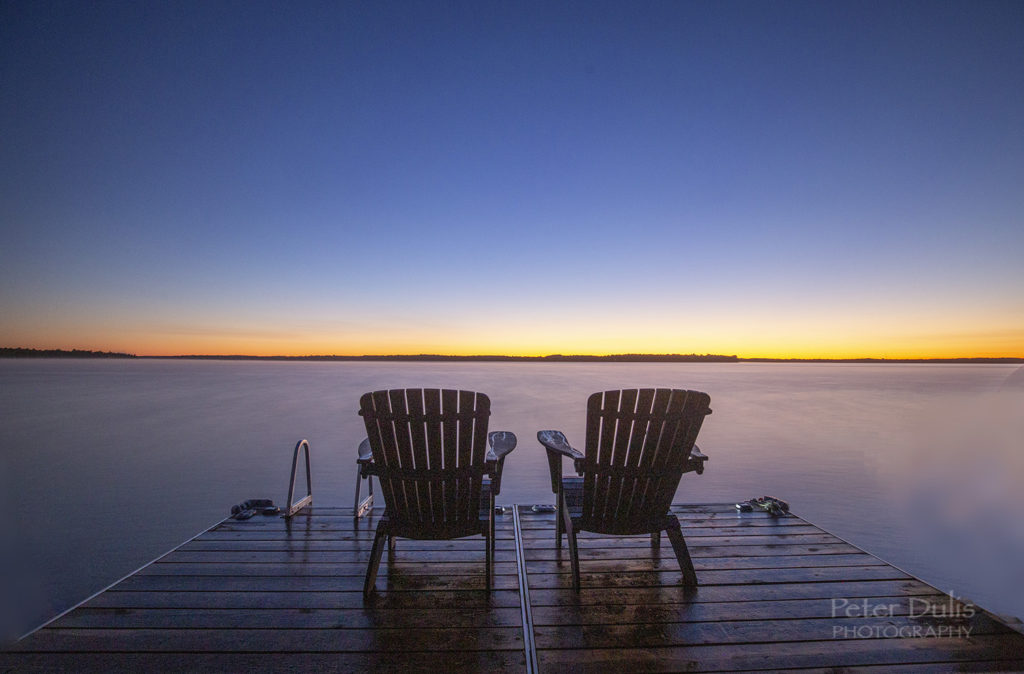
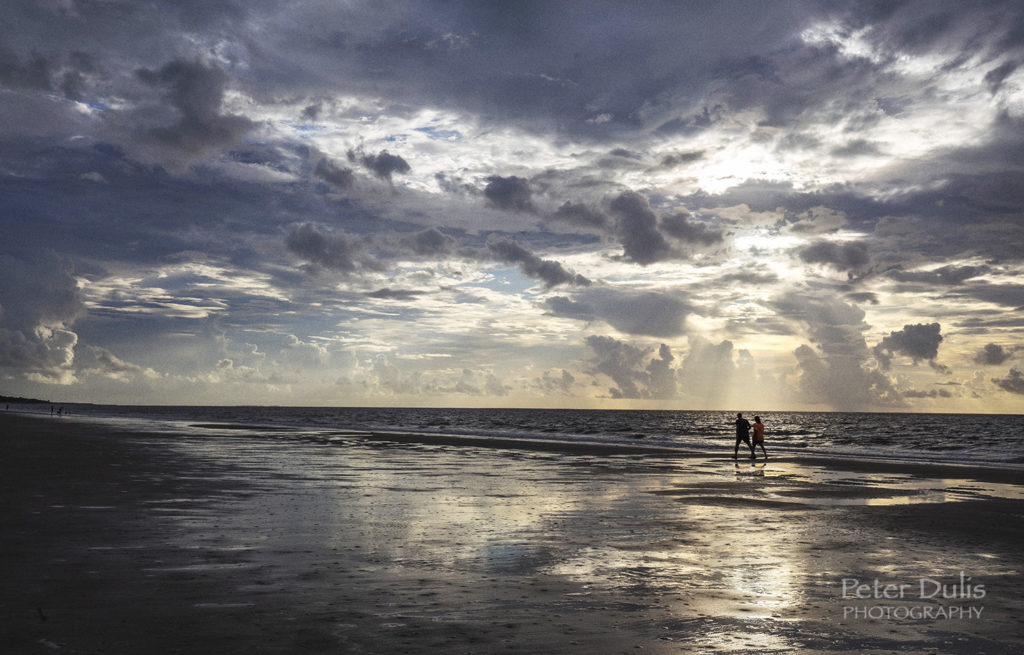
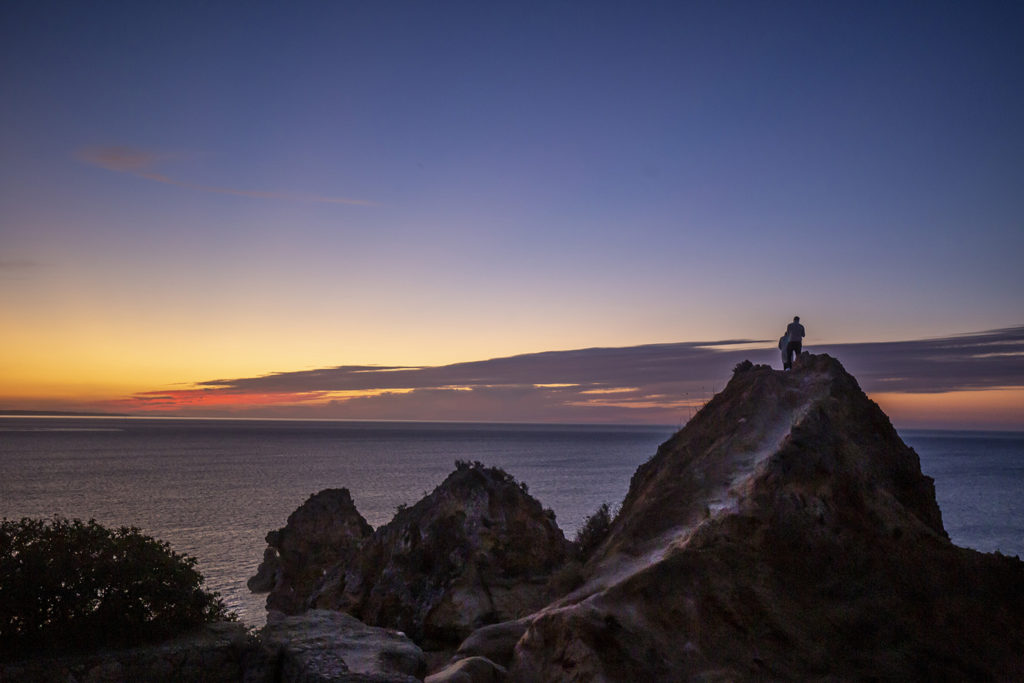
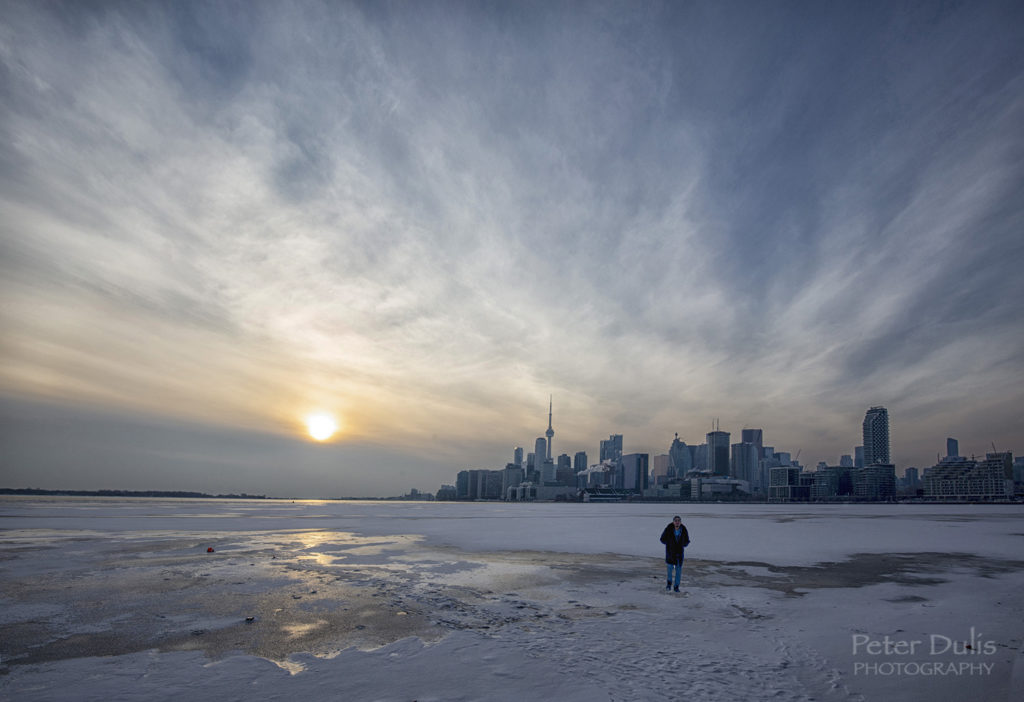
Try and anticipate the right conditions for your photos. Any time rain has cleared the atmosphere and the remaining clouds are mixed with sunlight, there’s a good chance for a vivid sunrise or sunset. The other thing to keep in mind is to look for a good foreground. Sure, skies alone are beautiful, but you need an interesting foreground to make it a truly meaningful photograph. I quite often will use people silhouettes in the frame. But it can be driftwood on a beach, a building, a light house, or anything of else of interest. Another thing to remember is to check the sky behind you. Some of the best sunrise & sunset shots I’ve taken is when the sun is reflecting it’s light onto the clouds behind you and a wonderful hue of colors is visible on the pattern of the clouds.
So, with this in mind, here are some tips on producing better sunrise & sunset photos.
Photographer’s Ephemeris
I use my The Photographer’s Ephemeris app to determine the best time to shoot. Using this Ephemeris is especially useful for working with natural light. Whether you’re shooting landscape, wildlife or nature, the Photo Ephemeris will tell you everything you need to know about sunlight, moonlight, and starlight positioning. That’s a good start and will help you to be at the right place – at the right time.
Anticipating the moment
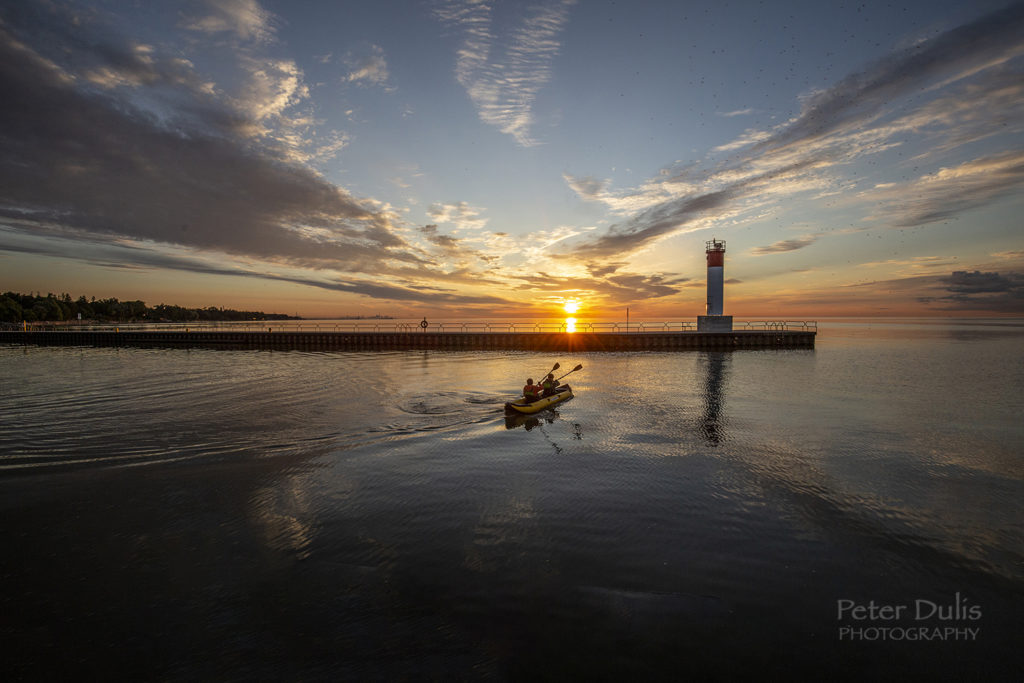
Photography is largely about capturing the moment, so anticipating the moment becomes crucial to great story telling. Waiting for the right moment when the light, expression and movement all converge is critical for great photos. You should be aware of the environment around you, perhaps silhouettes of people that can be incorporated into the scene. This is called active image making. It helps to be on the move, looking at different angles, perhaps sprinting with your backpack full of camera gear over rough terrain so that you could get to the right vantage point. That’s active image making and that can make the difference between a good and a great photo.
Choosing the Right ISO Setting
When shooting a sunrise or sunset, you’ll generally want to use an ISO setting of 100, 200, or 400. Quite often I’ll get my camera to shoot bracketed photos which involves the camera automatically taking several exposures, some under exposed and some over exposed and usually one will be perfect. This way I have more options to choose from later on when I get into post processing in Photoshop.
Choosing the Right Aperture
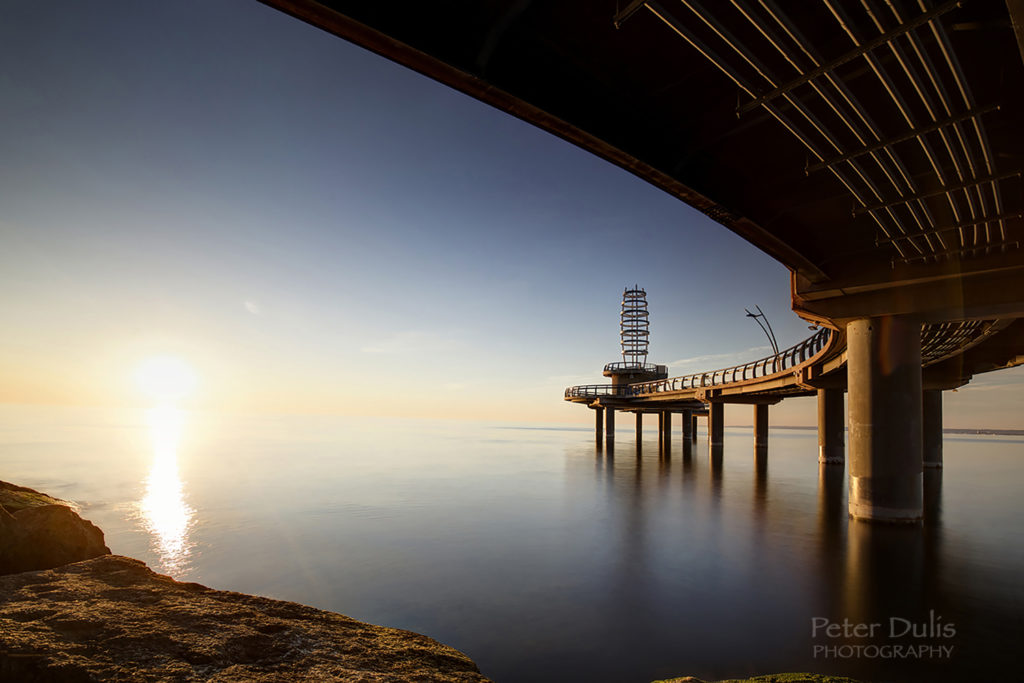
Although the aperture sweet spot varies depending on the lenses, I will typically choose a high aperture, such as f/11, f/16 or higher. This allows for a greater depth of field and sharpness throughout the whole photo. If you want a blurry background, then you only need to set the aperture low, like f/4 or lower. I use the AV shooting mode quite a bit. This way the camera will automatically set the shutter speed for me, and since the camera is mounted on a tripod, I don’t have the worry about a long exposure making my photos blurry.
Determining a Camera Mode
Your camera settings will heavily determine the outcome of your landscape photos. For landscape photography, using aperture priority (AV) is often the best way to go. This will allow you to control your depth-of-field. If I use an ISO setting of 100, then the only thing I need worry about is which f-stop to choose. If I am shooting flowing water or waterfalls and I want that smooth milky look, then I will use the manual settings and shutter priority becomes important. The slower the shutter speed, the milkier the water will look. You just need to experiment using the histogram as an indicator of whether you’re under or over exposed. I will mount my camera on a tripod for these longer exposures. You’ll also want to switch your camera mode to manual if you’re shooting at night.
Choosing the Right Shutter Speed
Assuming you are shooting in manual mode and hand holding to camera, a good place to start is 1/125 to 1/250 of a second. Keep in mind when choosing your shutter speed, you need to take into consideration the focal length of your lens. Higher focal lengths will exaggerate camera shake, while wide focal lengths will reduce the effect of camera shake. The general rule is to have a shutter speed higher than your focal length. So, with a 24mm lens, you will need to use a 1/30th of a second shutter speed. Shutter speed can be one of the most powerful tools in landscape photography and knowing how to use it can make your photos stand out from others.
Choosing the Right File Format
There is no question, if your camera shoots in RAW file format, use this. Compared to JPEGs, RAW files produce much higher quality images and give you greater control in post processing programs like Photoshop and Lightroom. RAW format is perfect for landscape photography because it produces images with a high level of detail and clarity.
Choosing the Right White Balance
I always shoot in RAW and set my white balance to auto. Raw files allow me to adjust my white balance with great precision in Photoshop. If you want to experiment with sunsets or sunrises and remove the warm color cast, you can try the sunrise/sunset pre-set.
Choosing the Right Focus Setting
For landscape photography, I almost always find myself using autofocus. It’s easy and efficient to shoot this way. I use single-servo when shooting landscapes. Single-Servo focus focuses on a subject once, and then stops focusing, which is perfect for landscapes. AI-Servo is perfect for scenes with moving subjects.
Bring Your Tripod
A tripod is essential because of the low light you will experience at dusk. You need to keep the camera steady, other wise you can end up with a grainy photo because of high ISO (sensitivity to light) exposure. Also use a self timer, perhaps the one built into the camera, to ensure sharp photos. If its windy, you will need a sturdier tripod or something to hold the tripod down.
Conclusion
Sunrises and sunsets change constantly so keep on shooting and keep on experimenting. The best way to choose your camera settings is by understanding your camera. With a little practice, you’ll be able to know the right settings to use to capture gorgeous sunrises and sunsets. So go head and have fun with it!
We hope you enjoyed our “10Tips for Better Sunrise & Sunset Photos” and will stay in touch with us.
FREE E-Book OFFER: “TOP 5 places to visit while you can!”
Travel & Photography Made Easy!
Here’s your chance to get your exclusive travel guide and photo tips in our 20-page e-book, along with regular travel tips delivered directly to your inbox.
Discover amazing places to visit and how to photograph them (for non techie people)
With over 375,000 readers, TripAdvisor has hailed us as being “In the Top 1% of Popular Reviewers” plus “Top Photographer” – having visited over “90 Cities” – so here are our “TOP 5 places to visit while you can!”
Travel & Photography Made EasyHere’s your chance to get your exclusive travel guide and photo tips in our 20 page e-book, along with regular travel tips delivered directly to your inbox.
Discover amazing places to visit and how to photograph them (for non techie people)
With over 325,000 readers, TripAdvisor has hailed us as being “In the Top 1% of Popular Reviewers” plus “Top Photographer” – having visited over “90 Cities” – so here are our TOP 5 places to visit before it’s too late!