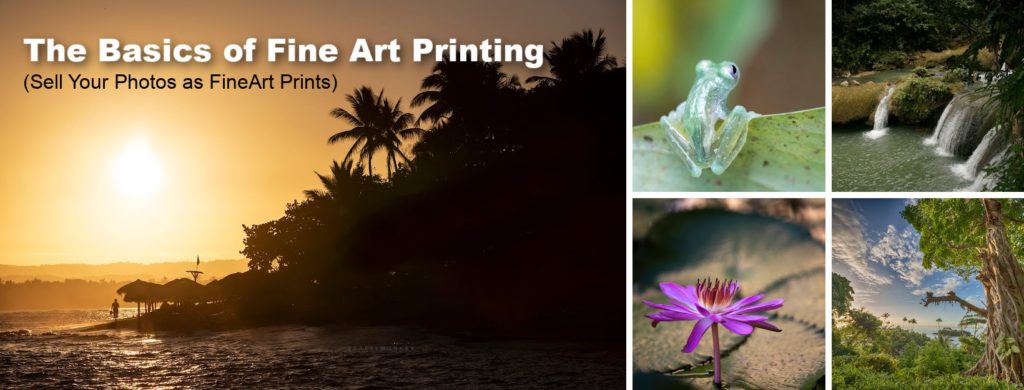
Seeing our photographs printed is undeniably one of the most gratifying experiences for any photographer. While prints can be produced at a lab, the true satisfaction lies in printing them at home for yourself. Like all photographers, I relish the joy of seeing my images come to life in printed format. I also take great pleasure in witnessing my work printed on the finest materials, utilizing state-of-the-art printing technology. The moment I laid eyes on the FineArt inkjet media from Hahnemühle, I was captivated by the vibrant life they infused into my images. It’s an indescribable sensation—one that transcends words. So, I thought I’d share some of my printing tips acquired during my 22-year tenure working with fine art printing.
There are many factors that affect how well a photo image will print. I’ve printed images from an iPhone camera, and it was ok, but not to the standard of a FineArt print.
STEPS USED IN PRINTING:
#1 – File Formats Needed
As a landscape photographer, I exclusively capture images in RAW file format. When producing fine art prints of my travel or landscape photographs, I opt for a TIFF file format when saving my images out of Photoshop. Additionally, if I have Photoshop layers that I wish to retain, I recommend saving the work as a Photoshop file. These file formats facilitate uncompressed saving, ensuring no loss of data, and are highly favored for creating high-quality fine art prints, particularly for larger sizes.
#2 – Resolution Needed
Image resolution in digital photography is quantified by a technical metric known as pixels per inch (ppi), which refers to the density of pixels in the image dimensions. It’s essential to note that higher resolution doesn’t automatically guarantee sharper landscape photos; the sharpness also relies on factors such as the quality of camera lenses, camera sensors, focus settings, and various other elements. When considering the resolution for printing a photo, I would recommend aiming for something within the range of 300 pixels per inch, printed size as. (i.e. a 57mb file can create a 12×18″ print based on 300ppi) This range typically ensures optimal print quality and detail retention, resulting in visually pleasing prints that accurately represent the captured image.
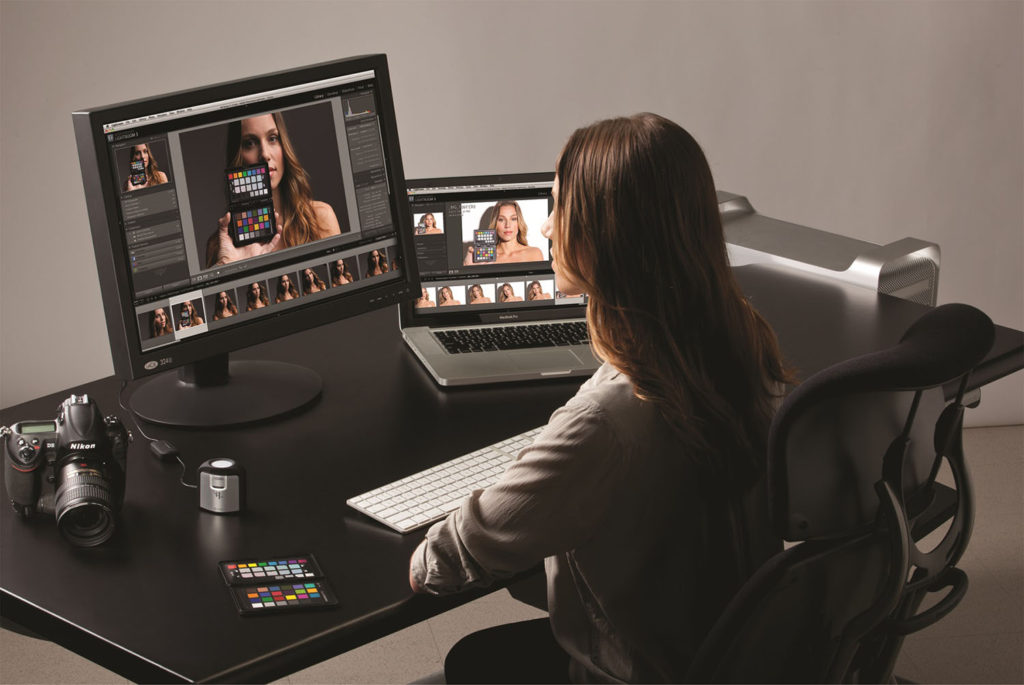
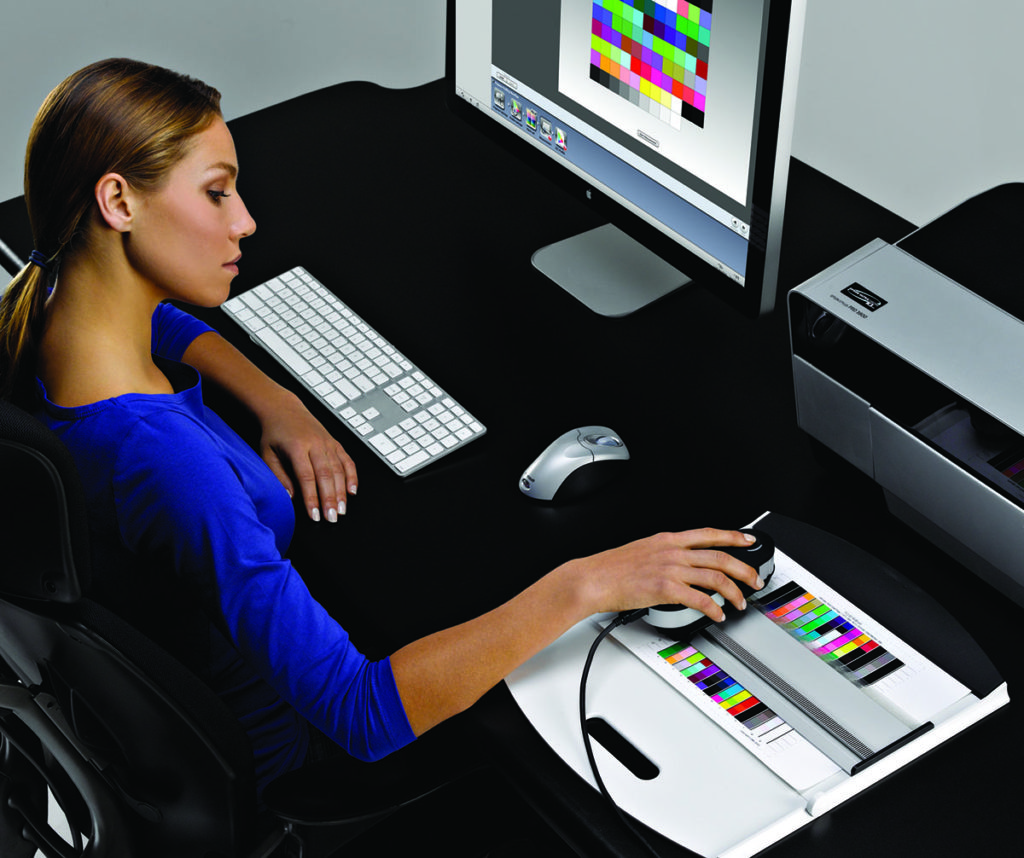
#3 – Calibrate Your Monitor
For ultimate accuracy, calibrate your monitor! There are some fairly inexpensive devices available today that can do this. Also, it’s helpful to view photos on a monitor in a properly lit room in order to minimize the impacts of distraction and the appearance of diluted color from too much ambient light hitting the display.
#4 – Sharpen your Photos
Despite the meticulous attention a photographer pays to exposure and composition during the initial capture, post-processing adjustments are often necessary to enhance the final image. Among these adjustments, sharpening stands out as one of the most crucial steps in creating professional-looking landscape photography prints.
#5 – Using Printer Profiles
Canon, HP, and Epson all offer a type of turn-key solution, when using their media. These printers have built-in profiles for correctly printing on their own media. They have also developed their printer drivers to accommodate third-party media as well. When using the Hahnemuhle media, I go to their download centre on the Hahnemühle.com site, select the printer manufacturer, the printer type, and then just select the media type and follow the instructions. It’s that easy! I just make sure that when I print from Photoshop or Lightroom, that I select PS or LR to manage the colors. (that way I can pull up the ICC profile that I’ve downloaded) There are complete instructions on the Hahnemühle.com site in how to do this. Alternatively, you can make your own profiles with software and equipment from companies such as Xrite.
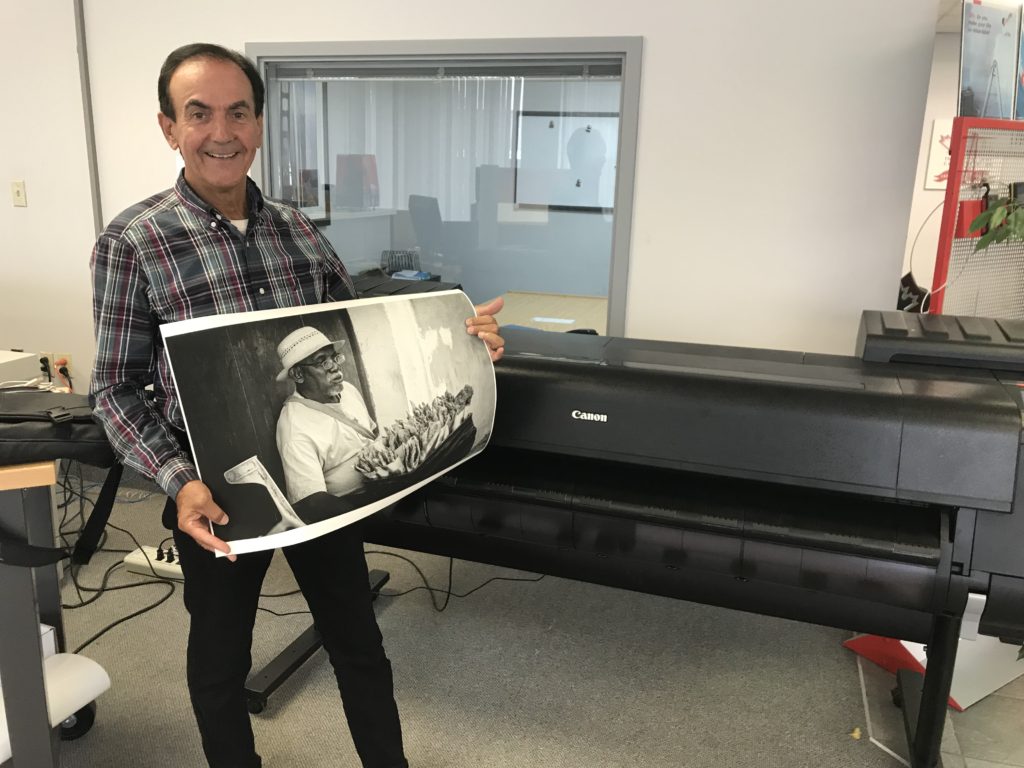
#6 – Choosing Your FineArt Printer
Today’s market offers a wide array of inkjet printers, each with its own set of features and capabilities. While some office-type printers may produce satisfactory images, it’s important to note that not all inkjet printers are created equally in terms of print quality and permanence. FineArt Photo printers from Canon, HP, and Epson are all good printers and can make fine quality prints.
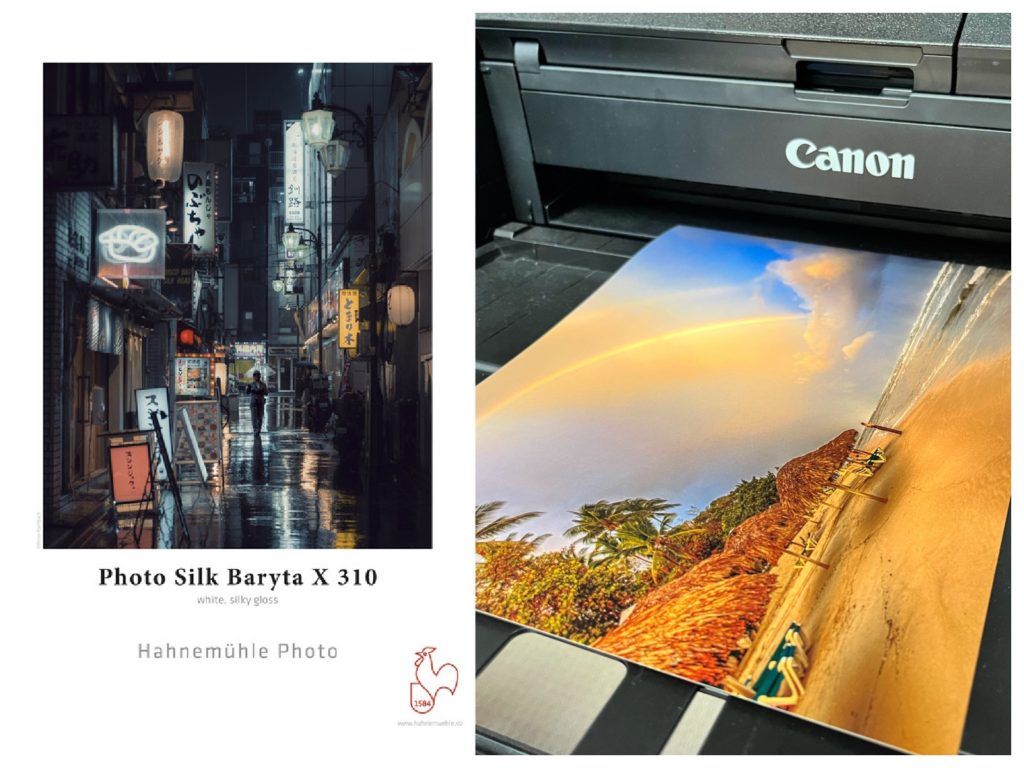
The Finishing Touch
Print quality is determined by media choice. One of the reasons I like to print at home is that I can experiment with a large range of media types that are available today. There isn’t just one “best” paper, it really comes down to how you think it suits the image, what you like and how it looks and feels to you. For this series of prints I really wanted to try the new Hahnemühle Photo Silk Baryta X, a 310 gsm paper with a nice white silky-gloss surface. The Photo Silk Baryta X is a cellulose paper with an optimised inkjet coating for photo application and it is perfectly suited for photo and poster prints. Try it – you’ll like it.