Summer is upon us and you may wondering how to create your own wall canvas art from the fabulous photos you took. Here’s a guide on how to personalize your home or office with wall art canvas prints made from your own photos.

Every Picture Tells a Story
Every photo has a story to tell and giclee inkjet printing respects and honors the craft of photography. It’s the carrier of our story. It’s a personal object to hold on to and to pass on long after we are gone. It’s really important that the images endure.

Creating Quality prints
The quality of your print, will be determined by the media you choose and how you print it. You will need a fine art inkjet printer that prints with archival inks. The media should have an archival quality as well. Canvas images for stretching must have a certain amount overlap past the image area. The print I made using the GoFrame stretcher bars needed a 2.5″ overlap. Now you can leave the overlap as a white canvas edge or if you want the image to be part of the overlap, you will need to copy 2.5″ of the outer canvas edges and copy them to the final image.

Steps Used in Printing
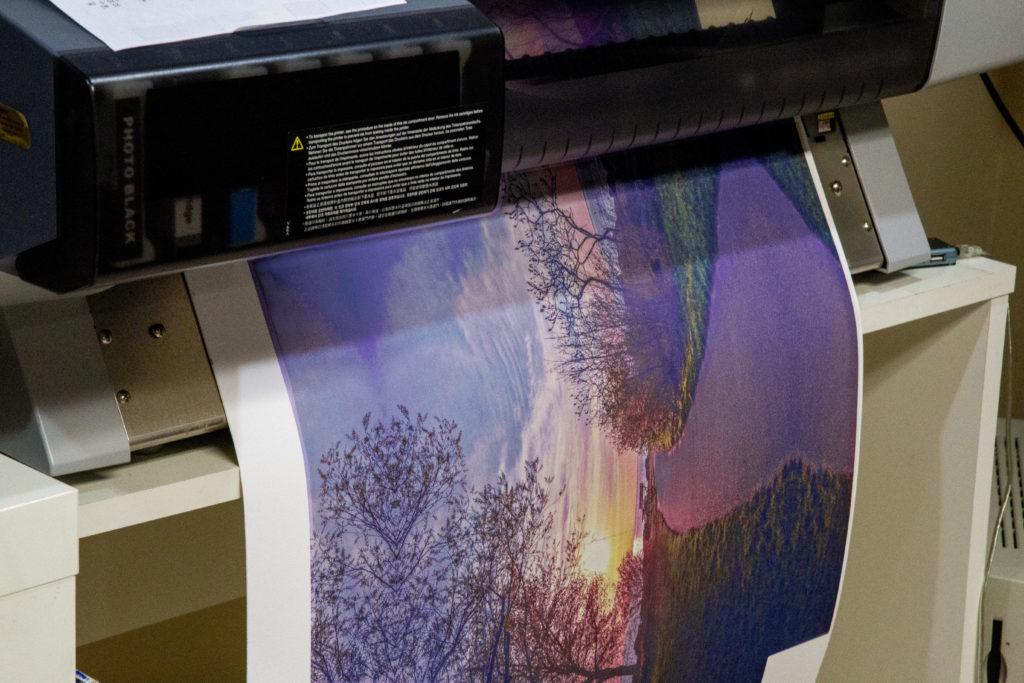
Choosing a good Inkjet Printer with archival ink properties is critical for long lasting quality prints. Luckily the desktop art printers have come down in price and are very reasonable to buy for home. Smoothness and neutrality across the entire tonal range from highlights to shadows has been made easier due to the combinations of ink and software from manufacturers like Canon, HP and Epson. For this project I used my Epson 24” Ultrachrome printer with 8 inks. When you view and feel a print produced by these fine art inkjet printers, there is an inner life and excitement that comes from the range of tones achievable and the wonderful texture of the media.

The media I chose to print with for this project was the Hahnemühle Daguerre bright white matt canvas. This 400 gsm, Poly-cotton-mix has a nice weight to it and has a beautiful matt bright white finish to it that is acid and lignin free.
STEPS IN PRINTING:
#1: First step was to select the media profile from the Hahnemühle download website and follow the instructions –
www.hahnemuehle.com/en/digital-fineart/icc-profile/download-center.html
#2: When you are ready to print, choose File > Print
- Set Color Handling to Photoshop Manages Colors
- Choose your paper’s profile from the Printer Profile drop down
- Select rendering intent – Relative Colorimetric or Perceptual (I like Perceptual)
- Check Black Point Compensation
- Click Print Settings and select the printer settings needed
#3: Click Print Settings and select the printer settings needed
- All Epson printers come with the functions you need – set the media type, print quality, and verify color management is turned off at the driver level.
- The OS will automatically disable the printer’s color management – the box is grayed out.
- Look for “SuperFine” or “Photo” options for best quality

The Finishing Touch
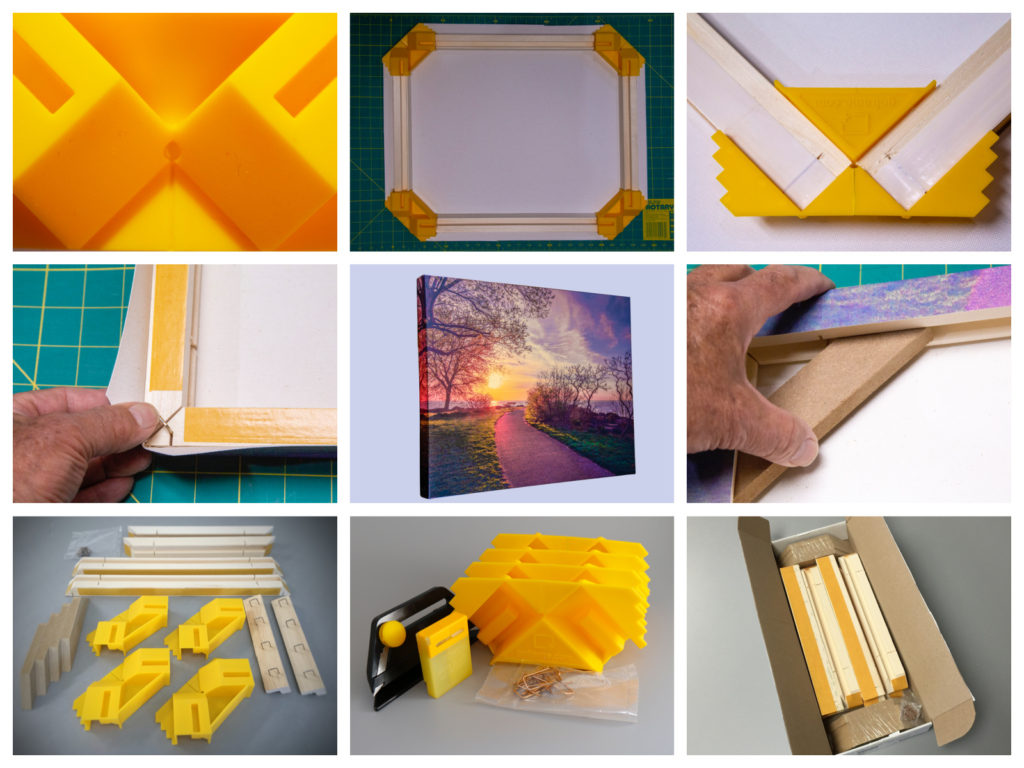
For the finishing touch I stretched my canvas with the GOframe 1500P mounting system. The system consists of pre-cut wooden frame sections and assembly jigs that allow for simple attachment and stretching of a canvas, with no specialist tools. The 1500 PRO stretcher bar provides a depth of 1 ½” stretched bars, but there is a less expensive lightweight version available with 1.25″ width bars.
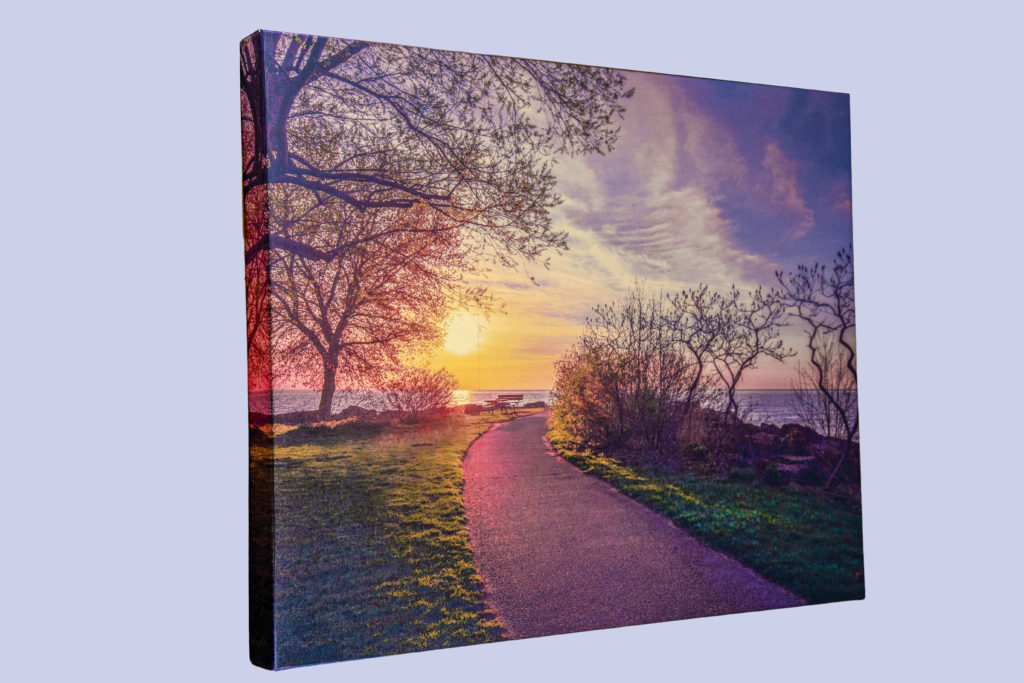
And “voila” the print was ready to hang on my wall

We hope you enjoyed our canvas printing tips and will stay in touch with us.
FREE E-Book OFFER:
Travel & Photography Made EasyHere’s your chance to get your exclusive travel guide and photo tips in our 20 page e-book, along with regular travel tips delivered directly to your inbox.
- Discover amazing places to visit and how to photograph them (for non techie people)
With over 325,000 readers, TripAdvisor has hailed us as being “In the Top 1% of Popular Reviewers” plus “Top Photographer” – having visited over “90 Cities” – so here are our TOP 5 places to visit before it’s too late!

